How to Reset a GE Dimmer Dial Light Switch
Introduction
GE dimmer dial light switches provide a convenient way to control lighting intensity in homes and offices. However, they may sometimes need to be reset due to flickering lights, unresponsive controls, or improper calibration. Resetting a GE dimmer dial light switch can help resolve these issues and restore functionality. This guide provides step-by-step instructions on how to reset your GE dimmer dial switch safely and effectively.
Understanding Your GE Dimmer Dial Switch
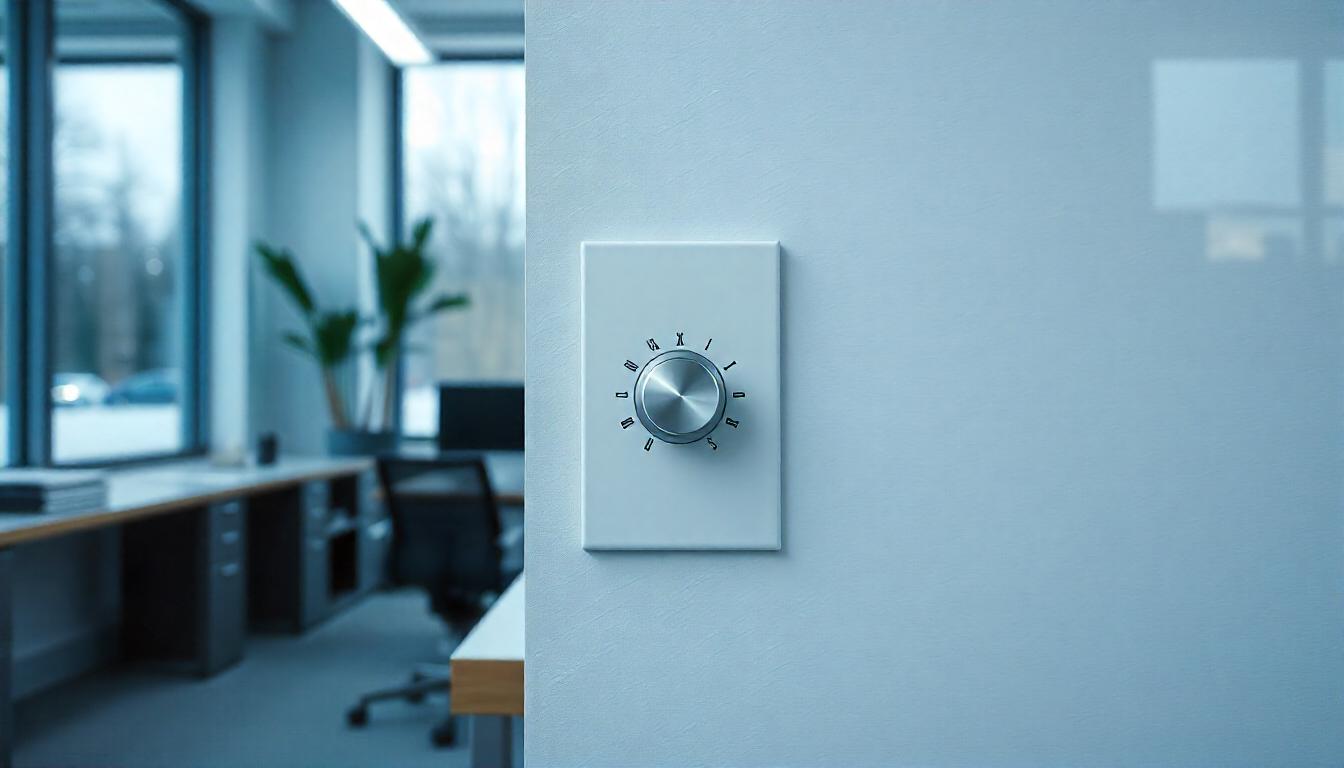
A GE dimmer dial light switch allows users to adjust the brightness of connected lights using a rotating dial. Some models also feature a push-button on/off function. Common issues that require a reset include:
- Lights flickering or not responding to dimming.
- The switch not turning lights on or off.
- Compatibility issues with LED or CFL bulbs.
Step-by-Step Guide to Resetting Your GE Dimmer Dial Light Switch
Step 1: Turn Off the Power
Before making any adjustments, turn off the power to the dimmer switch at the circuit breaker. This prevents electrical shock and ensures safety during the reset process.
Step 2: Remove the Dimmer Dial
If your model has a removable dimmer dial, gently pull it off the switch to expose the internal reset mechanism.
Step 3: Perform a Soft Reset
Some GE dimmer switches allow a soft reset using the following method:
- Turn the dimmer dial to the lowest setting.
- Press and hold the on/off button (if applicable) for 10-15 seconds.
- Release the button and turn the dial back to the highest setting.
- Test the dimmer by adjusting the brightness.
Step 4: Perform a Hard Reset (If Necessary)
If the soft reset does not resolve the issue, a hard reset may be required:
- Turn off the power at the breaker.
- Remove the wall plate and unscrew the dimmer switch from the electrical box.
- Carefully disconnect the switch wires (note their positions for reconnection).
- Wait for 5-10 minutes before reconnecting the wires.
- Secure the switch back in place, reattach the wall plate, and turn the power back on.
- Test the dimmer switch to check if the reset was successful.
Step 5: Check Bulb Compatibility
Some issues may arise due to incompatible bulbs. Ensure your dimmer is designed for the type of bulb you are using (LED, CFL, incandescent, etc.). If flickering persists, try replacing the bulbs with dimmer-compatible ones.
Step 6: Adjust Dimmer Calibration (If Available)
Some GE dimmers feature a calibration setting that allows users to fine-tune brightness levels. Refer to the manufacturer’s manual to see if your model supports calibration adjustments.
Troubleshooting Common Issues
- Lights remain dim or flicker: Check for loose wiring and ensure the bulbs are compatible with the dimmer.
- Dimmer is unresponsive: Ensure the breaker is turned back on and connections are secure.
- Overheating switch: Reduce the number of connected bulbs or check if the dimmer is overloaded.
Conclusion
Resetting a GE dimmer dial light switch is a straightforward process that can resolve many common issues. By following these steps, you can restore your dimmer’s functionality and improve your lighting experience. If problems persist, consult a qualified electrician for further assistance.